How to Prepare Your Dock and Boat Lift for Winter
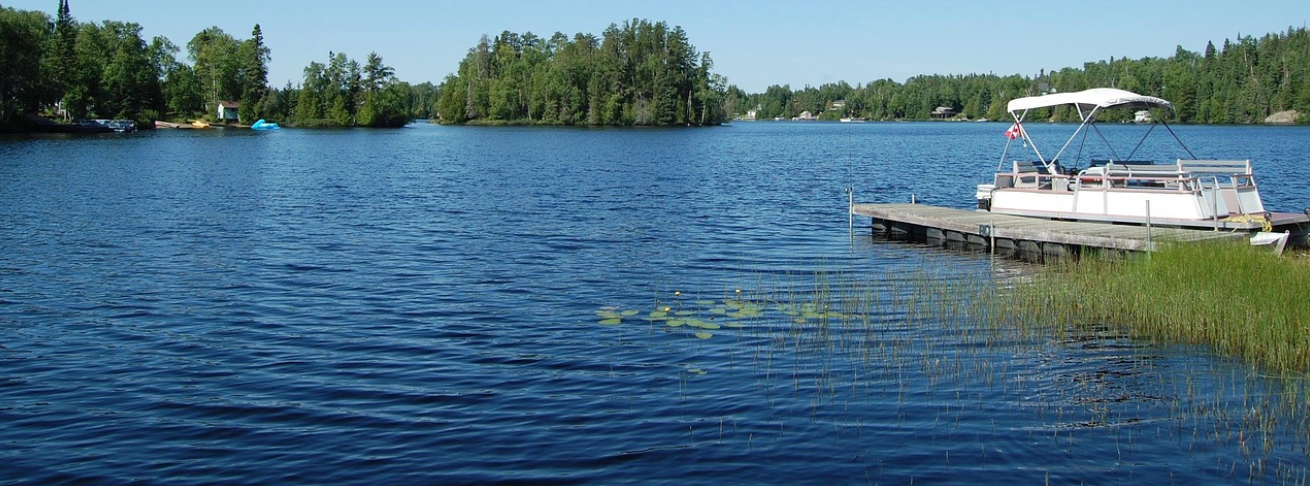
If you own a waterfront property in Ontario or cottage country anywhere in Canada, winter prep is not just about closing the cottage. Your
dock and boat lift will face months of ice, shifting water levels and strong winds. A bit of planning now, especially if you are using a
dock de-icer, can save you from costly dock and lift repairs in the spring.
This guide walks you through a
practical, step-by-step process to get your dock and boat lift ready for winter using a de-icer like the
Arbrux De-Icer. It is written with lakes like
Muskoka, Kawartha Lakes, Lake Simcoe, Georgian Bay and Rideau Lakes in mind, but the same principles apply across Canadian cottage country.
Step 1: Decide Whether Your Dock and Boat Lift Are Staying In
Before you think about a de-icer, decide if your
dock and boat lift are staying in the water at all.
You are more likely to leave them in place if:
- You have a permanent or semi-permanent dock on piles, cribs or concrete
- Your boat lift is designed to stay in the water year-round
- You manage multiple slips in a marina
- The structure is large and built to remain in the water
You are more likely to remove them if:
- You have a lightweight floating dock and portable lift that can be rolled or lifted out
- You are on a small or sheltered inland lake with minimal ice movement
- You already have a simple, reliable routine for pulling the dock and lift each fall
- If you decide the dock and lift will stay in the water through winter on lakes like
Muskoka or
Lake Simcoe, a de-icer becomes a key part of protecting both.
Step 2: Inspect Your Dock and Boat Lift Before Ice Season
Before installing any equipment, thoroughly inspect your dock and boat lift while everything is still accessible.
For the dock, look for:
- Bent or leaning legs or piles
- Loose fasteners, hangers or brackets
- Rotting or cracked deck boards
- Signs of previous ice damage, like twisted sections or shifted footings
For the boat lift, check:
- Legs and bases for bending or movement
- Welds, bolts and brackets for rust or fatigue
- Cables, pulleys and moving parts for smooth operation
- The cradle and bunks for damage or misalignment
Fixing these issues before winter gives your dock and lift a better chance of handling snow, ice and wind. It also ensures your de-icer is protecting structures that are already sound.
Step 3: Clear and Simplify Your Dock and Lift Setup
Next, remove or secure anything on and around your
dock and lift that does not need to stay out all winter:
- Remove furniture, planters and loose accessories
- Pull in portable ladders if possible
- Disconnect and store hoses or water toys
- Remove boats or personal watercraft from the lift if they will not be stored there for winter
- Take away items that could freeze in, shift or become projectiles in high winds
This step is especially important on exposed shorelines in
Georgian Bay,
Kawartha Lakes or
Rideau Lakes, where strong winds and drifting ice are common.
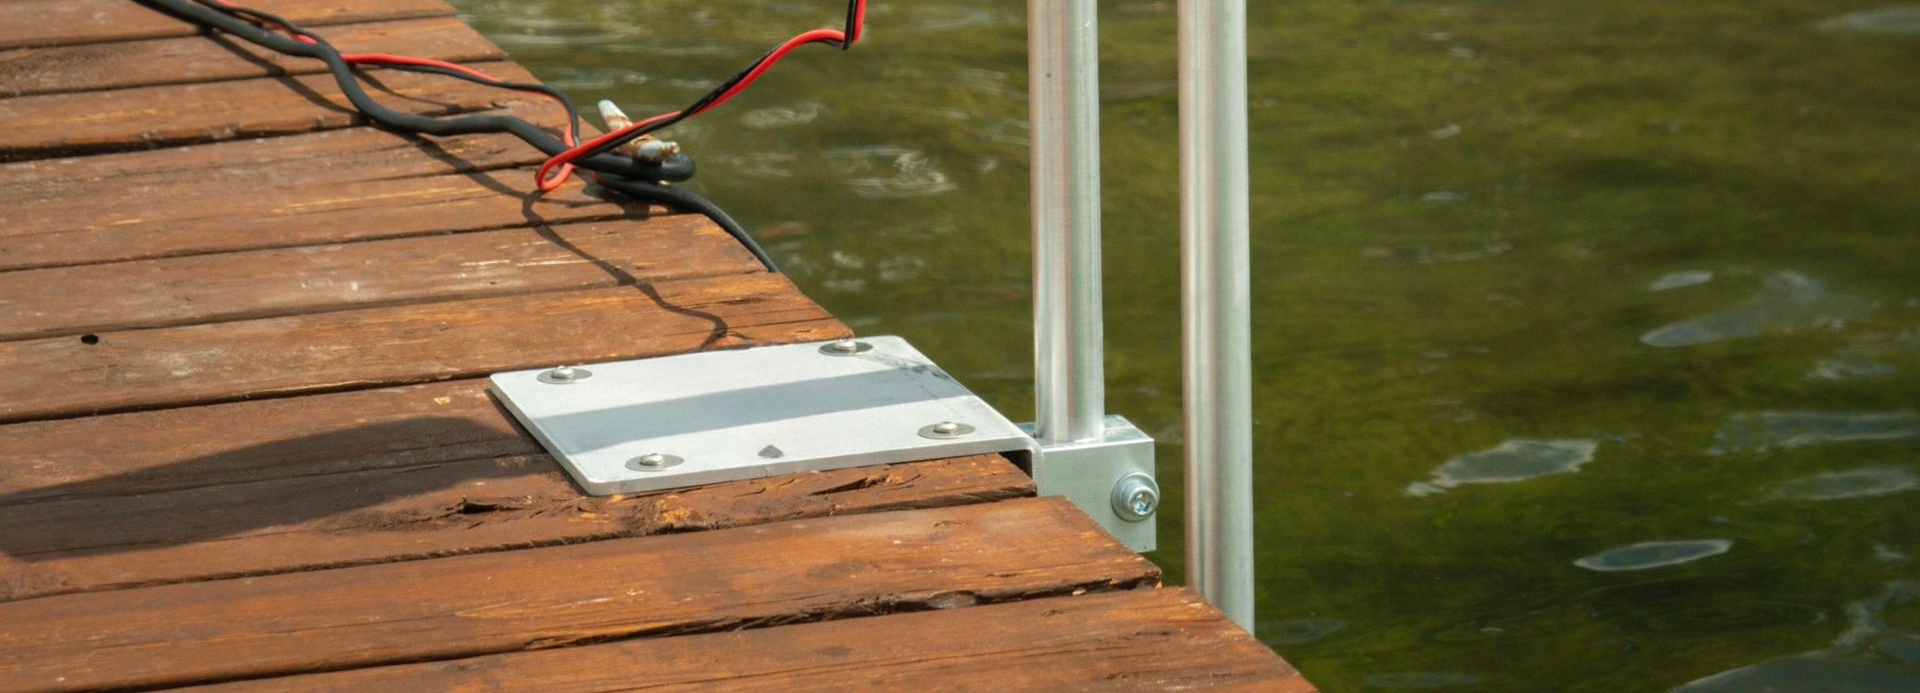
Step 4: Choose the Right Mounting Option for Your De-Icer
A de-icer is most effective when it is mounted in the right place and at the right depth to protect both your dock and your boat lift. Arbrux offers several mounting options so you can match your setup to your shoreline.
Common choices include:
- Dock mount when you have a solid dock, piling or side structure to attach to.
See: Arbrux Dock Mount. - Lake bottom mount when there is no convenient dock structure, or when you want the unit set off to the side in front of your dock and lift.
See: Arbrux Lake Bottom Mount. - Dock and lake bottom bundles when you prefer a complete package that pairs the de-icer with the appropriate mount.
See: Arbrux Lake Bottom Bundle and Arbrux Dock Bundle.
When choosing a mount, consider:
- Water depth where your dock legs and boat lift sit
- How far out the lift is from the shore
- Where you have seen the worst ice pressure in past winters
In many Ontario cottage regions, the goal is to position the de-icer so that its open-water radius covers the
lift legs and the most vulnerable parts of the dock, not just a random area in front.
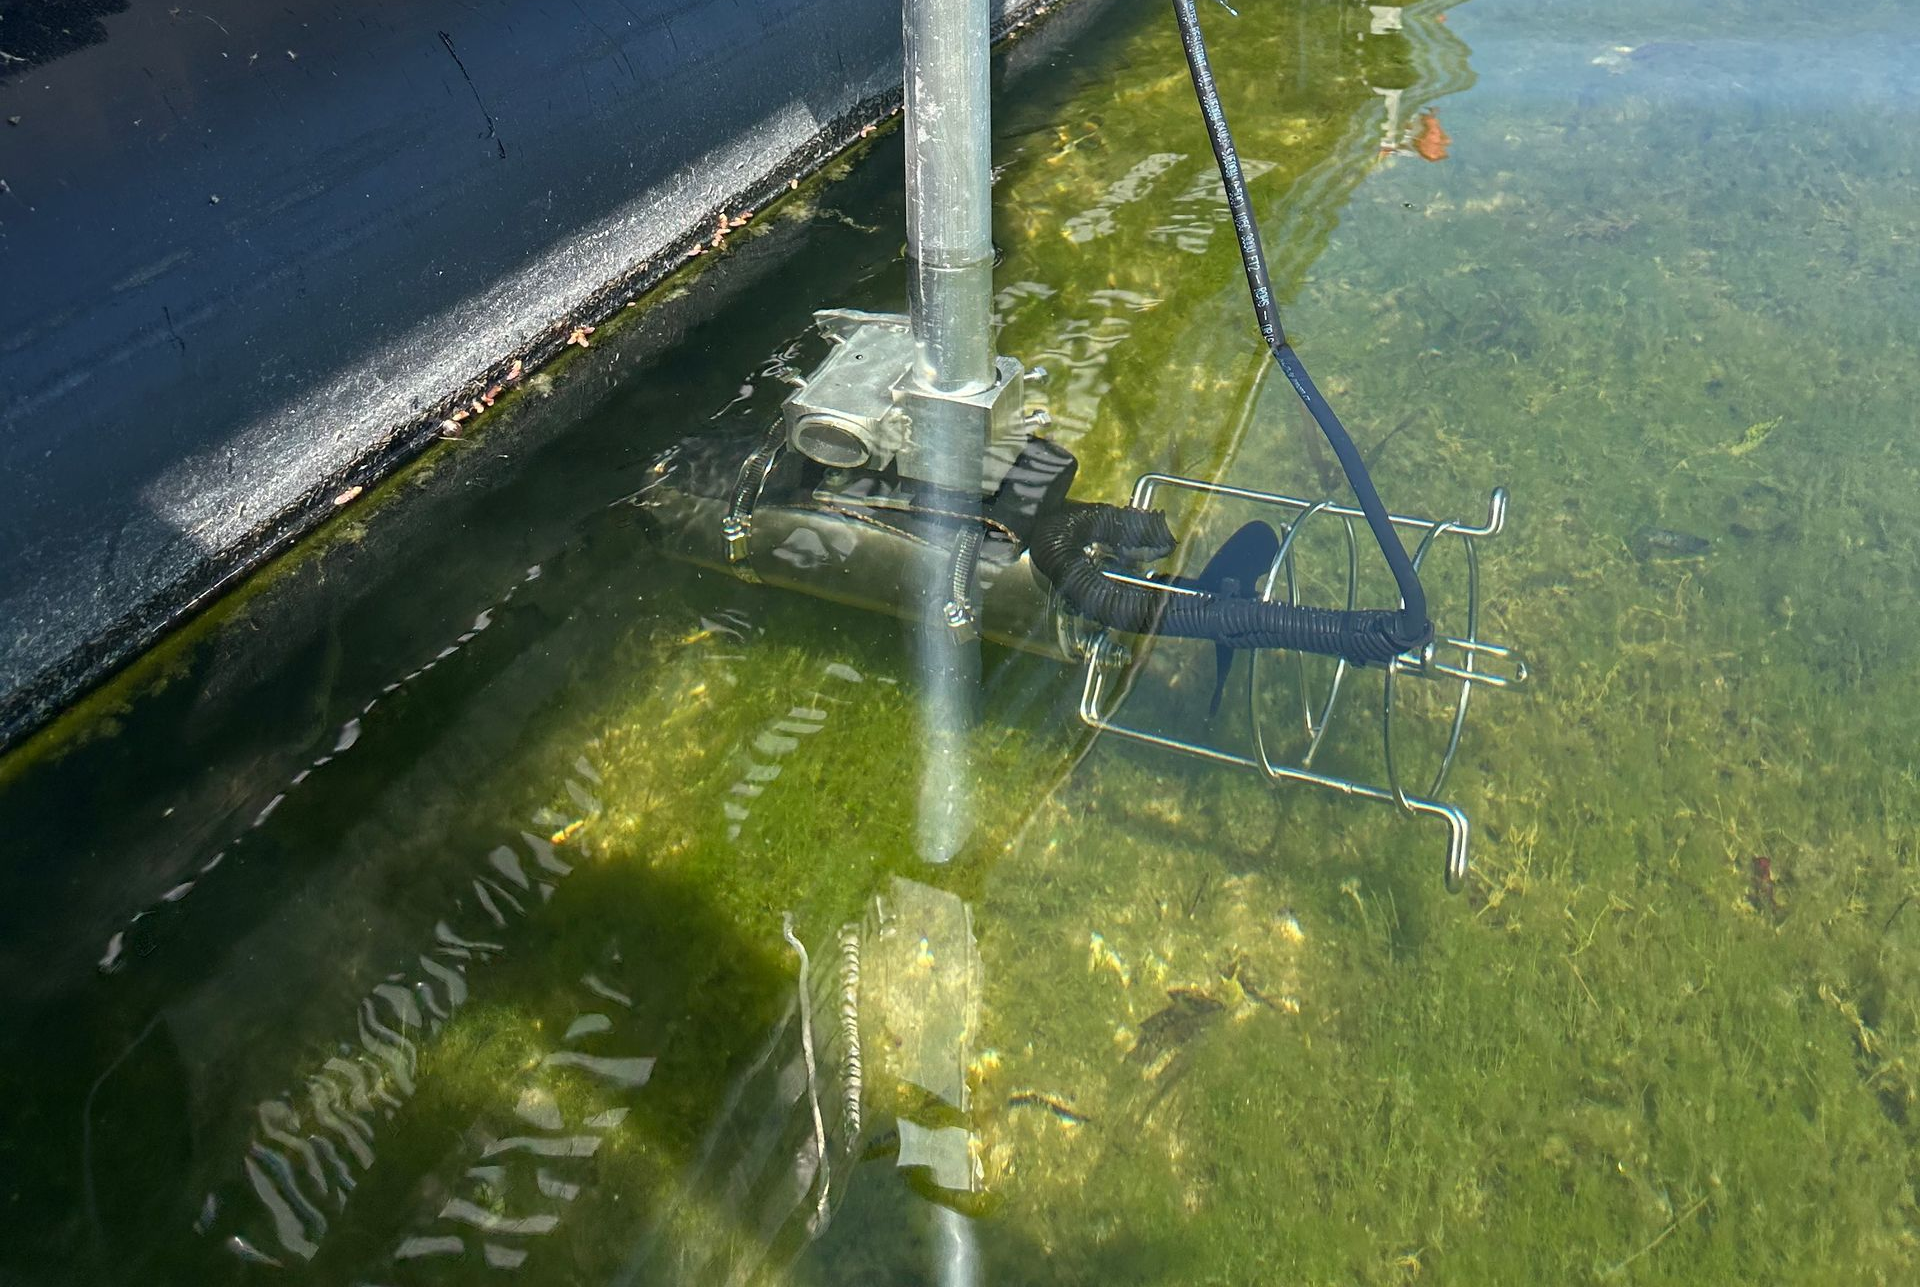
Step 5: Position and Install the De-Icer to Protect Both Dock and Lift
Once you have chosen a mount, you can install the Arbrux De-Icer itself.
Key positioning tips to protect
both dock and boat lift:
- Place the unit so its flow moves water around the boat lift base and dock legs, rather than far off to the side
- Make sure there is adequate depth below the unit so it can pull slightly warmer water up from lower in the water column
- Angle the de-icer so that its circulation pattern passes under or around the lift and structural dock supports
Follow Arbrux installation instructions closely for your specific mount. A properly installed de-icer will create a controlled open-water or thin-ice radius that reduces ice pressure around the legs, cribs and lift structure you want to protect.
Step 6: Plan for Safety and Signage Around Open Water
If you are keeping water open with a de-icer on lakes like Muskoka, Kawartha, Lake Simcoe or Georgian Bay, safety is critical. Open water and thin ice created around your dock and boat lift can pose a risk to skaters, snowmobilers, anglers and pets.
Canadian safety organisations provide clear guidance about ice risk and the importance of marking hazards. For further reading, see:
- Ice Safety: Know when it’s safe to play – Canadian Red Cross
- Ice Safety – Canadian Coast Guard
- Ice safety: 3 steps that could save your life – Destination Ontario
- Cold Water and Ice – Lifesaving Society
The Federation of Ontario Cottagers’ Associations (FOCA) also highlights the responsibility that comes with equipment that creates open water, in resources like FOCA’s ice safety page and its bubbler safety bulletin.
Best practices when using a de-icer to protect your dock and lift include:
- Posting “Danger – Open Water” or similar signage on or near your dock
- Using a visible marker or light so the open area around your lift is easy to spot at night
- Talking with neighbours so they know ice conditions near your shoreline will be affected
If your municipality or lake association has specific expectations or bylaws, make sure you follow them.
Step 7: Set Timers or Controls for Efficient Operation
Many waterfront owners in Ontario use thermostats or timers with their de-icers so they are not running at full power 24 hours a day.
Benefits of using controls include:
- Reducing energy usage and operating cost
- Avoiding an unnecessarily large open-water area around your dock and lift
- Matching performance to local weather patterns, especially during shoulder seasons
The right settings depend on your lake, exposure and how severe your winters typically are, but the goal is consistent, targeted protection of
dock and boat lift structure rather than continuous maximum operation.
Step 8: Do a Final Pre-Winter Check Before Freeze-Up
Once everything is installed:
- Confirm mounts and fasteners are secure on both the dock and the lift
- Ensure cords are protected from abrasion and are not a tripping hazard
- Verify that the de-icer is operating correctly and moving water under and around the lift and dock legs
- Confirm that warning signs and markers are in place and visible
If you are on a busier waterbody like
Lake Simcoe or parts of
Georgian Bay, it is especially important that your setup is clearly visible and professionally installed.
Step 9: Monitor Conditions Through the Winter
You do not need to visit daily, but if you are at the cottage or marina over winter:
- Keep an eye on how large the open-water radius is around your dock and lift
- Adjust angle or depth if you notice ice forming in the wrong place
- Make sure signs and markers remain visible after snowfalls or storms
Resources like FOCA’s
ice safety and climate change guidance are useful background as winter conditions become more variable across Ontario.
Step 10: Spring Shutdown and Inspection of Dock and Lift
When ice has fully cleared in spring:
- Turn off and disconnect the de-icer
- Inspect the unit, mount and electrical cord for wear
- Clean any marine growth or debris from the propeller and housing
- Inspect your dock again for movement, cracks or loose components
- Inspect your boat lift for bent legs, cable issues or misalignment
If you need to adjust your setup, you can revisit options like the
dock mount,
lake bottom mount or complete
dock and lake bottom bundles before the next winter season.
Bringing It All Together
Preparing your
dock and boat lift for winter with a de-icer is not complicated, but it does require a thoughtful, step-by-step approach:
- Decide if your dock and lift are staying in
- Inspect and repair both structures
- Clear and simplify your setup
- Choose the right mount to protect dock and lift
- Position and install the de-icer to cover both
- Plan for safety, signage and marking open water
- Use timers or controls for efficient operation
- Double-check everything before freeze-up
- Monitor conditions when you are on site
- Inspect and maintain dock, lift and de-icer in spring
For many properties in
Ontario and Canadian cottage country, a properly installed de-icer can significantly reduce ice damage and extend the life of docks and boat lifts.
To learn more about the equipment discussed in this guide, visit the
Arbrux De-Icer product page, along with mounting options like the
dock mount,
lake bottom mount and
Arbrux bundles.